UK & European Digital solidarity - OpenStack and Data Platforms - Installing OpenStack
Digital sovereignty is increasingly becoming a critical geopolitical imperative, especially for the UK and Europe. Ensuring control over our digital infrastructure is essential for maintaining autonomy and security. One way to achieve this is by leveraging open-source technologies. In the upcoming series of Blog posts I wish to explore the deployment of OpenStack to provide open source cloud computing, and the the use of free and open-sourced tooling with which to build a modern robust cloud data platform.
In the first blog post I will be providing a step-by-step guide to deploying a virtual machine and running OpenStack on this Virtual Machine.
OpenStack is an open-source cloud computing platform primarily used for creating and managing large groups of virtual private servers in a data center. It is designed to provide infrastructure as a service (IaaS) and is widely adopted by organizations seeking to build scalable and flexible cloud environments. OpenStack is a key piece of technology with which an organisation can build out and manage their own cloud services.
Objective
My overall-goal is to build a data platform using open-source technologies on an open sourced cloud environment. The stack will include:
- Apache Spark + Delta: For data storage and processing
- Neo4j Graph Database: For data modeling and data lineage visualisation
- PostgreSQL: For SQL storage
Digital Sovereignty in Practice
Digital sovereignty means having control over your data and the infrastructure that processes it. By using open-source tools, we can ensure that our data platform is transparent, secure, and free from vendor lock-in. Tools like Databricks and Fabric, while highly marketed, are essentially wrappers around existing open-source software. This series will demonstrate how to achieve similar capabilities with open-source alternatives.
Deploying OpenStack
OpenStack is a powerful open-source cloud platform that allows you to manage large pools of compute, storage, and networking resources. I will be using DevStack, a script-based tool designed to quickly deploy OpenStack on a single machine, to set up my environment.
To find out the standard instructions to use DevStack to install OpenStack visit the following page: OpenStack.
To successfully install Openstack via Devstack on your local system will require you to customise the instructions for your local system. Below you will find the approach that I took.
System Specifications
- CPU: Ryzen 7 AMD
- RAM: 64 GB (You don’t need this much RAM, I believe you can get things working with 8 GB).
- GPU: Integrated
- OS: Fedora (GNU/Linux distribution)
STEP 1. Creating a Linux VM for OpenStack
The first step is to create a virtual machine (VM) to install DevStack. Here are the specifications for the VM:
- CPU Cores: 8
- RAM: 32 GB
- Disk Storage: 120 GB
- OS: Ubuntu 24 live server (I originally install Devstack with Desktop Ubuntu but I think you need the simplicity of a server to ensure there are the least moving parts on the VM you are installing Openstack onto).
I used VirtualBox, a VM management tool, to create the VM. You will find instructons widely available on the internet to install this on your system of choice. There is no reason to think other VM management tools will not work, howevere I found Boxes which comes with gnome does not provide enough options regarding network configuration.
IMPORTANT: Ensure that you have a bridged connection in your networking options for your VM. You can change this setting from Virtualbox after your VM deployment if you didn’t do this at the start.
STEP 2. Configuration of your server
Ensure that you choose a bridged network interface for your VM in your VM application settings. This will allow amongst other things, that you are able to ssh into your VM.
Update everything
First let’s ensure our server is updated to the latest version of everything and we have git installed:
sudo apt-get update
sudo apt-get upgrade
sudo apt-get install git
sudo apt-get dist-upgrade
sudo reboot
Basic networking
Give your server a static IP address, we are going to do this using netplan. I followed these insructions to do this:
https://www.linuxtechi.com/static-ip-address-on-ubuntu-server/
cd /etc/netplan
Open the file inside the netplan directory using your preferred text editor and change the values to the below, your specific network interface name (enp0s3 below) may be different and change it if so, likewise change the IP address to one that works for you along with the gateway (the IP address under routes).
When the Devstack script runs it will be creating a network bridge br-ex, and we need to bind our “physical interface” enpo0s3 to this bridge.
NOTE: This is a yaml file and thus the spacing and indendation is very important
network:
  version: 2
  renderer: networkd
  ethernets:
    enp0s3:
      dhcp4: no
  bridges:
    br-ex:
      interfaces: [enp0s3]
      addresses:
        - 192.168.1.240/24
      nameservers:
        addresses:
          - 8.8.8.8
          - 1.0.0.1
      routes:
        - to: default
          via: 192.168.1.1
      parameters:
        stp: false
        forward-delay: 0
Apply the changes and reboot:
netplan apply
sudo reboot
STEP 3. Install Devstack
Create user
We want to create a specific user for devstack, to give this sudo access and ensure it isn’t going to ask for the password, as otherwise during the install we will be asked for our password multiple times
sudo useradd -s /bin/bash -d /home/stack -m stack
sudo chmod +x /home/stack
sudo chown stack:stack /home/stack
echo "stack ALL=(ALL) NOPASSWD: ALL" | sudo tee /etc/sudoers.d/stack
sudo -u stack -i
cd /home/stack
Download Devstack
Get the devstack codebase and cd into the directory:
git clone https://opendev.org/openstack/devstack -b stable/2024.1
cd devstack
Create our local.conf
This should be in the /home/stack/devstack directory
This file provides all the details required to set up Devstack, I found I needed to add GIT_DEPTH=1 to allow all the different repos to download successfully, as otherwise the size of the downloads were very large and the stack.sh script was having problems getting all the files it needed in time. GIT_DEPTH=1 ensures that only the most recent history in a branch is downloaded.
You should update the setting under Network Settings to reflect the values for your local system.
local.conf
[[local|localrc]]

# Passwords
ADMIN_PASSWORD=secret
DATABASE_PASSWORD=$ADMIN_PASSWORD
RABBIT_PASSWORD=$ADMIN_PASSWORD
SERVICE_PASSWORD=$ADMIN_PASSWORD

# Basic Settings
DEST=/opt/stack
PIP_UPGRADE=True
API_RATE_LIMIT=False
LOGDAYS=1
LOGFILE=$DEST/logs/stack.sh.log
GIT_DEPTH=1

# Swift (Object Storage) Settings
SWIFT_HASH=$(echo $RANDOM | md5sum | head -c 30; echo;)
SWIFT_REPLICAS=1
enable_service s-account s-container s-object s-proxy

# Networking Settings
HOST_IP=192.168.1.240
PUBLIC_INTERFACE=enp0s3
OVS_PHYSICAL_BRIDGE=br-ex
PHYSICAL_NETWORK=public
ENABLE_BRIDGE=true
FLOATING_RANGE=192.168.1.0/24
PUBLIC_NETWORK_GATEWAY=192.168.1.1
Q_FLOATING_ALLOCATION_POOL=start=192.168.1.248,end=192.168.1.252
Run the stack.sh script and install Devstack
./stack.sh
After 20+ minutes the script will finshed and all being well Devstack will have installed.
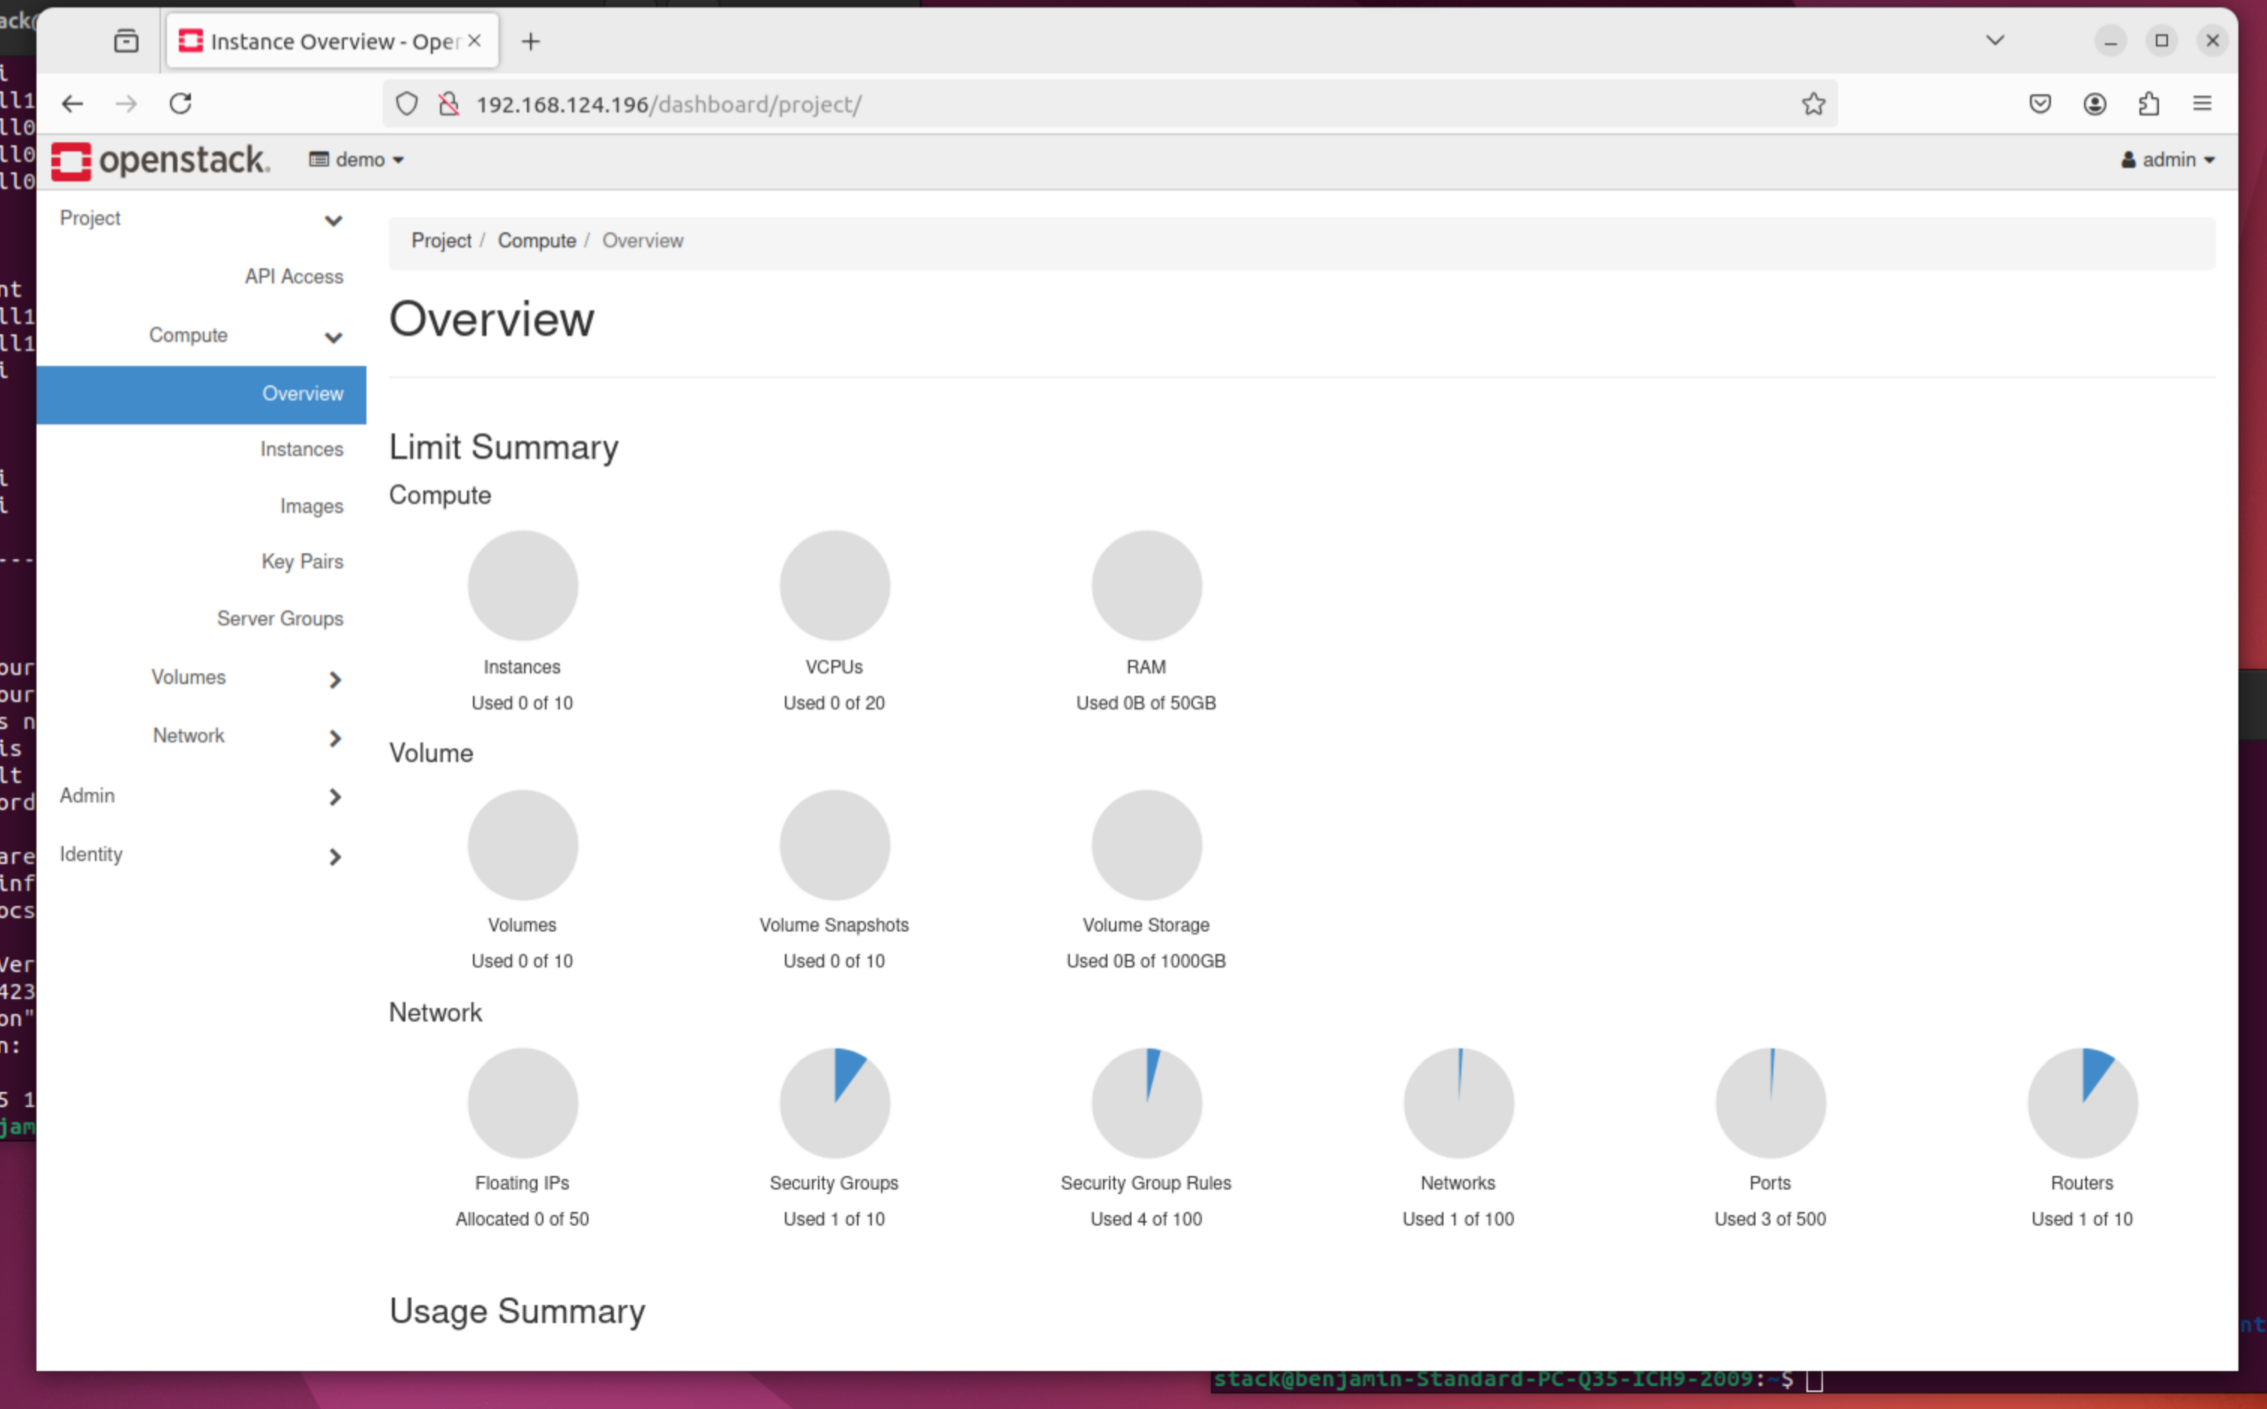
To have a quick poke around Openstack go to the horizon dashboard, which you can access, depending on your networking, by entering the IP address of the VM hosting Openstack from any connected machine on your network.
Here is a picture of the Horizon dashboard.
Next Steps
The next step is to deploy an instance in Openstack and to connect to that from our node via SSH to establish that everything is working.